Webflow Dashboard Overview: Master Your Workspace Today
Did you know that Webflow powers over 3.5 million websites and is trusted by brands like Dell, Rakuten, and TED? As no-code tools continue to reshape the web design industry, mastering the Webflow dashboard has become an essential skill for modern creators.
So, you've heard about Webflow and you're ready to build your first website. But you're not quite sure where to start? That’s totally okay! The first place you’ll land after logging into Webflow is the dashboard, and it’s your main control center for everything you create.
In this Webflow Dashboard Overview, we’ll walk you through the basics so you feel confident navigating and using it, even if you’re completely new.
Key Takeaways
- Master the essential layout and organization of the Webflow Dashboard interface
- Discover ways to organize projects using folders and sorting options.
- Explore tools for utilizing the Workspace feature for seamless team collaboration.
- Learn how to efficiently manage multiple workspaces and organize your sites
- Switch between different dashboard views to improve project management.
- Leverage the search functionality to quickly find and access your projects.
What is Webflow?
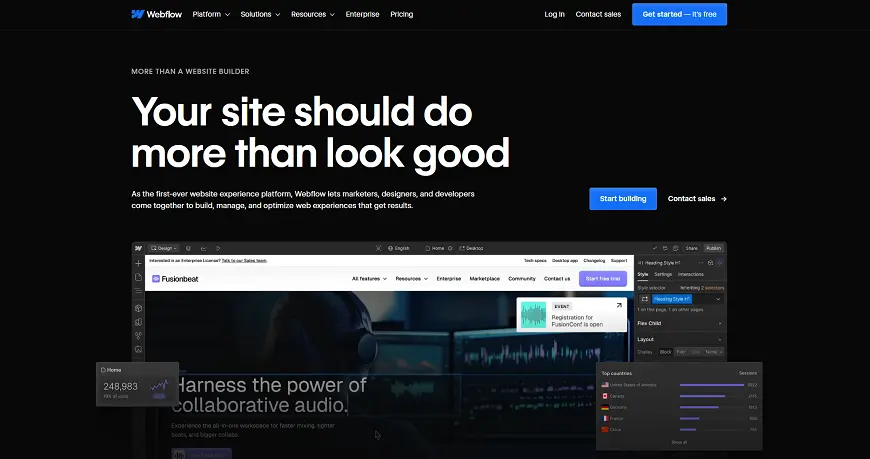
Webflow is an innovative no-code website builder that empowers users to visually design, develop, and publish custom websites. It bridges the gap between design and development by offering a powerful drag-and-drop interface, making it ideal for both beginners and advanced web professionals who want full creative control without writing a single line of code.
Take your website design to the next level with our stunning collection of Webflow templates. making them more manageable
How to Set Up Your Webflow Account
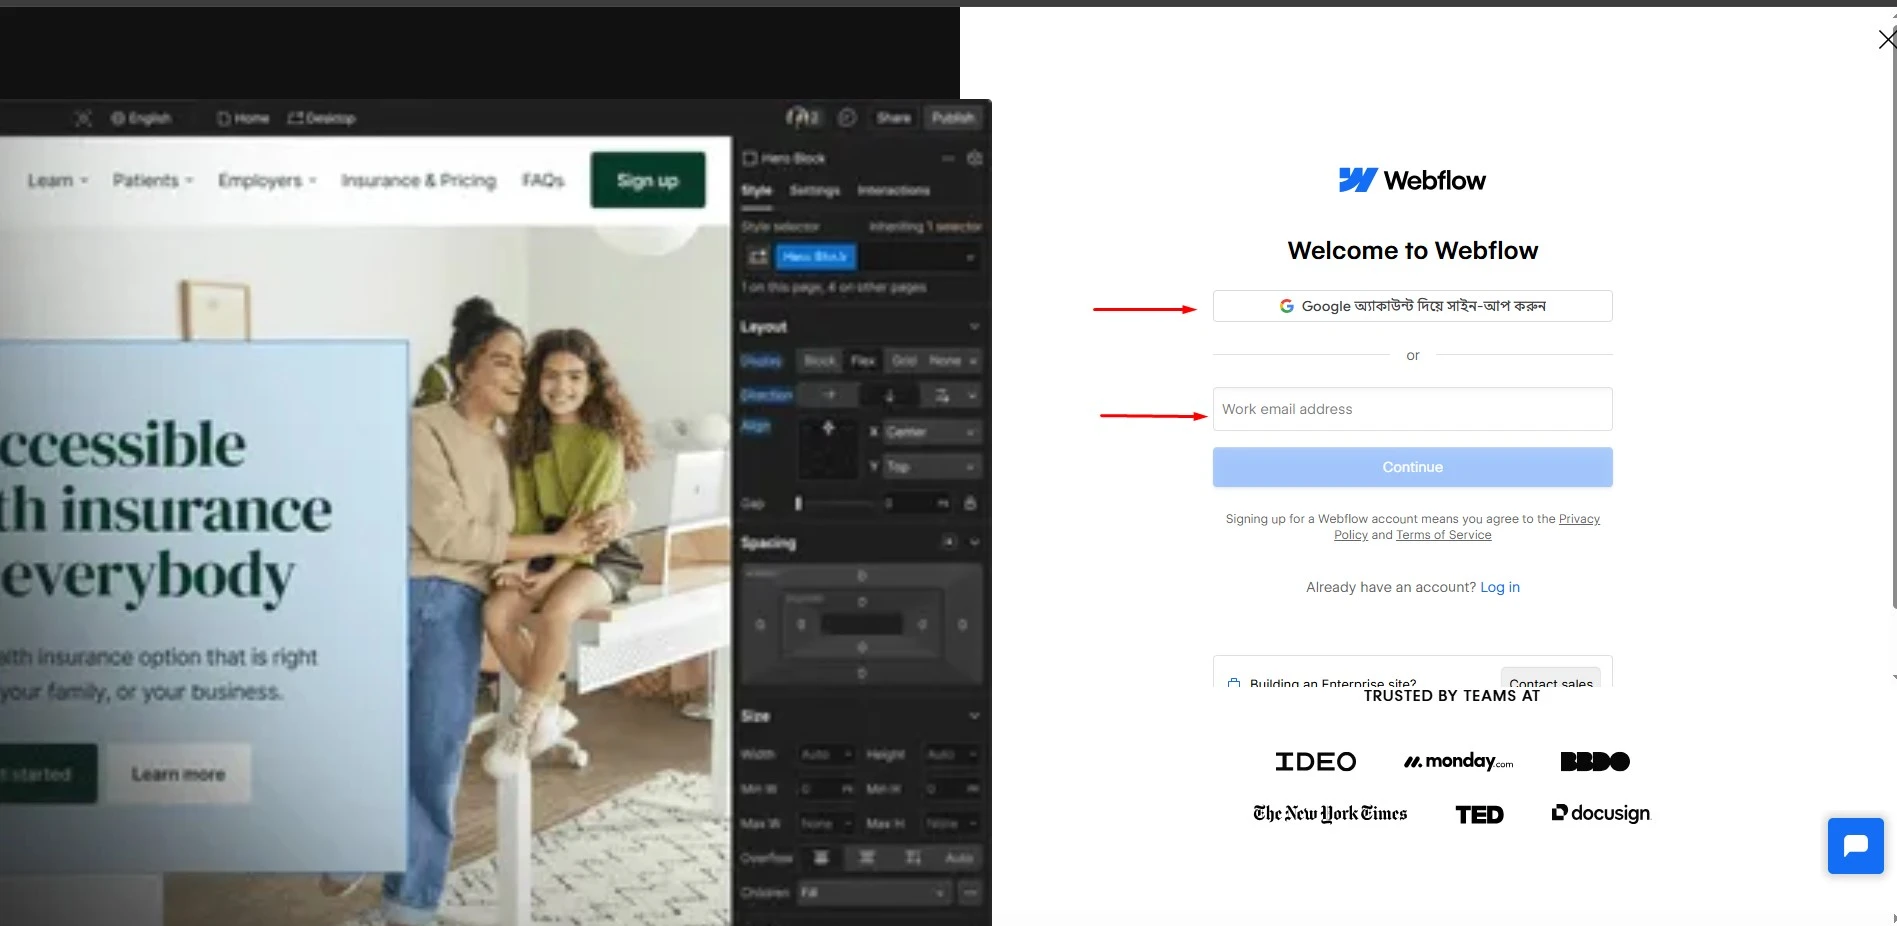
Getting started is simple. Creating a Webflow account takes just a few minutes. Visit webflow.com and click the "Get started" button. Fill out the sign-up form with your email address. Create a strong password for your new account.
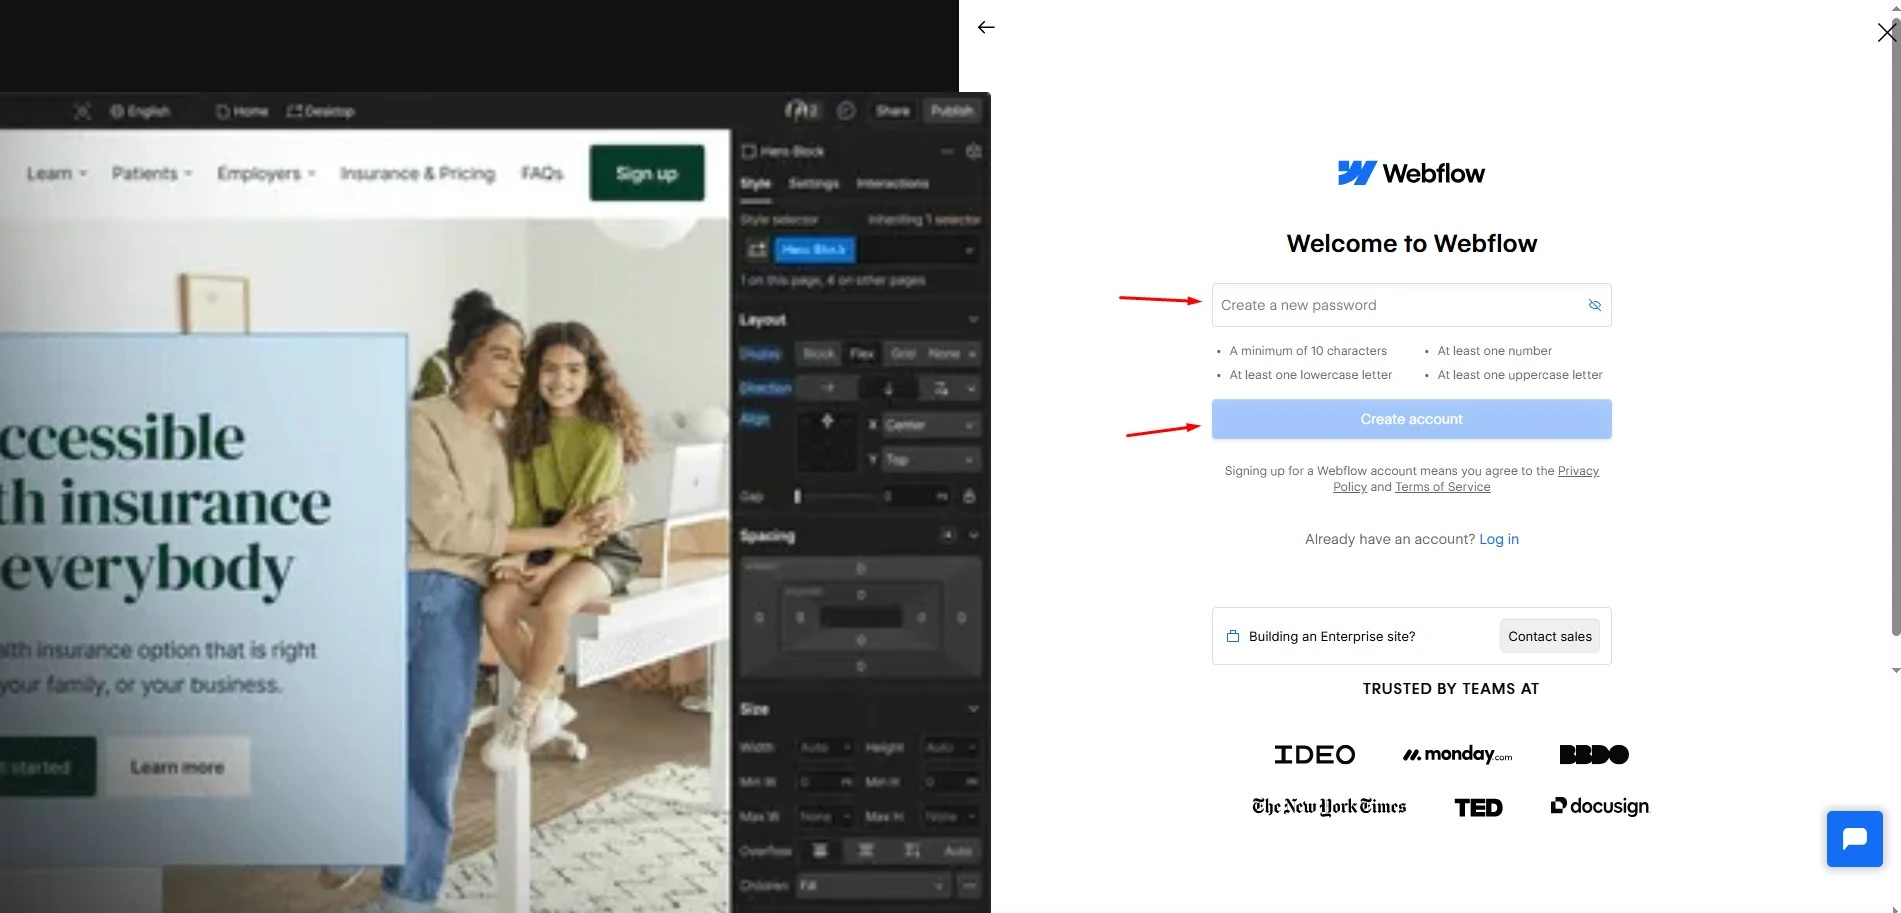
Check your email inbox for the verification message. Click the verification link to activate your account. You'll start with a free Starter Workspace automatically. This workspace will be your first project management hub. You can upgrade to paid plans for more features. Options include Site plans, Workspace plans, and Enterprise tiers.
After verification, you'll land on your Dashboard right away. Your workspace contains all your projects and important settings. From here, you can start a new site immediately. You can also browse templates to speed up your workflow. Or you can adjust your account settings as needed.
The dashboard makes switching between different tasks very simple. You can jump from design work to client management easily. All your billing information is also accessible from here.
Take your website design to the next level with our stunning collection of Webflow templates. making them more manageable
What Is the Webflow Dashboard?
The Webflow dashboard is your central control hub. From here, you can create, access, manage, and publish websites, all in one place. Whether you’re working solo or collaborating with a team, the dashboard provides quick access to projects, billing, team settings, and more.
Just like a home screen on your computer or phone, this is your central hub inside Webflow. No complicated menus, no coding—just a clean, user-friendly layout designed to help you manage your sites with ease.
Webflow is designed to work seamlessly across all modern browsers. The dashboard, Designer, and published sites are officially supported on the last three major versions of Chrome, Edge, Firefox, and Safari. This ensures you'll have a consistent experience regardless of which browser you prefer to use.
What You’ll See When You Log In

After logging into your Webflow account, you’ll land on the main dashboard, a clean, organized space that showcases all your website projects in one place. If you’ve already created a website, you’ll see it displayed as a project card.
Each card represents an individual site and gives you a quick visual overview, including the site’s name and a thumbnail preview. This preview helps you instantly recognize which project you're looking at, which is especially useful if you're managing multiple sites.
These thumbnail images update automatically each time you publish your site to your webflow.io subdomain, ensuring they always reflect your current design. If you notice your thumbnail is outdated, simply republish to your webflow.io subdomain and refresh your Dashboard to see the updated preview.
Below the preview, you’ll notice a few key action buttons: one to open the Designer (where you build and customize your site), one for the Editor (perfect for managing and updating content). And another for Settings (where you configure technical details like SEO, custom domains, and integrations).
There's also a small three-dot icon on each card that opens a site menu, allowing you to duplicate, transfer, back up, or delete a project. If your dashboard is currently empty because you haven’t started building yet, don’t worry! You’ll be able to create your first project with just a couple of clicks.
The dashboard is designed to be beginner-friendly, making it easy to keep your work organized and accessible as you grow more comfortable with Webflow.
Understanding the Workspace Sidebar
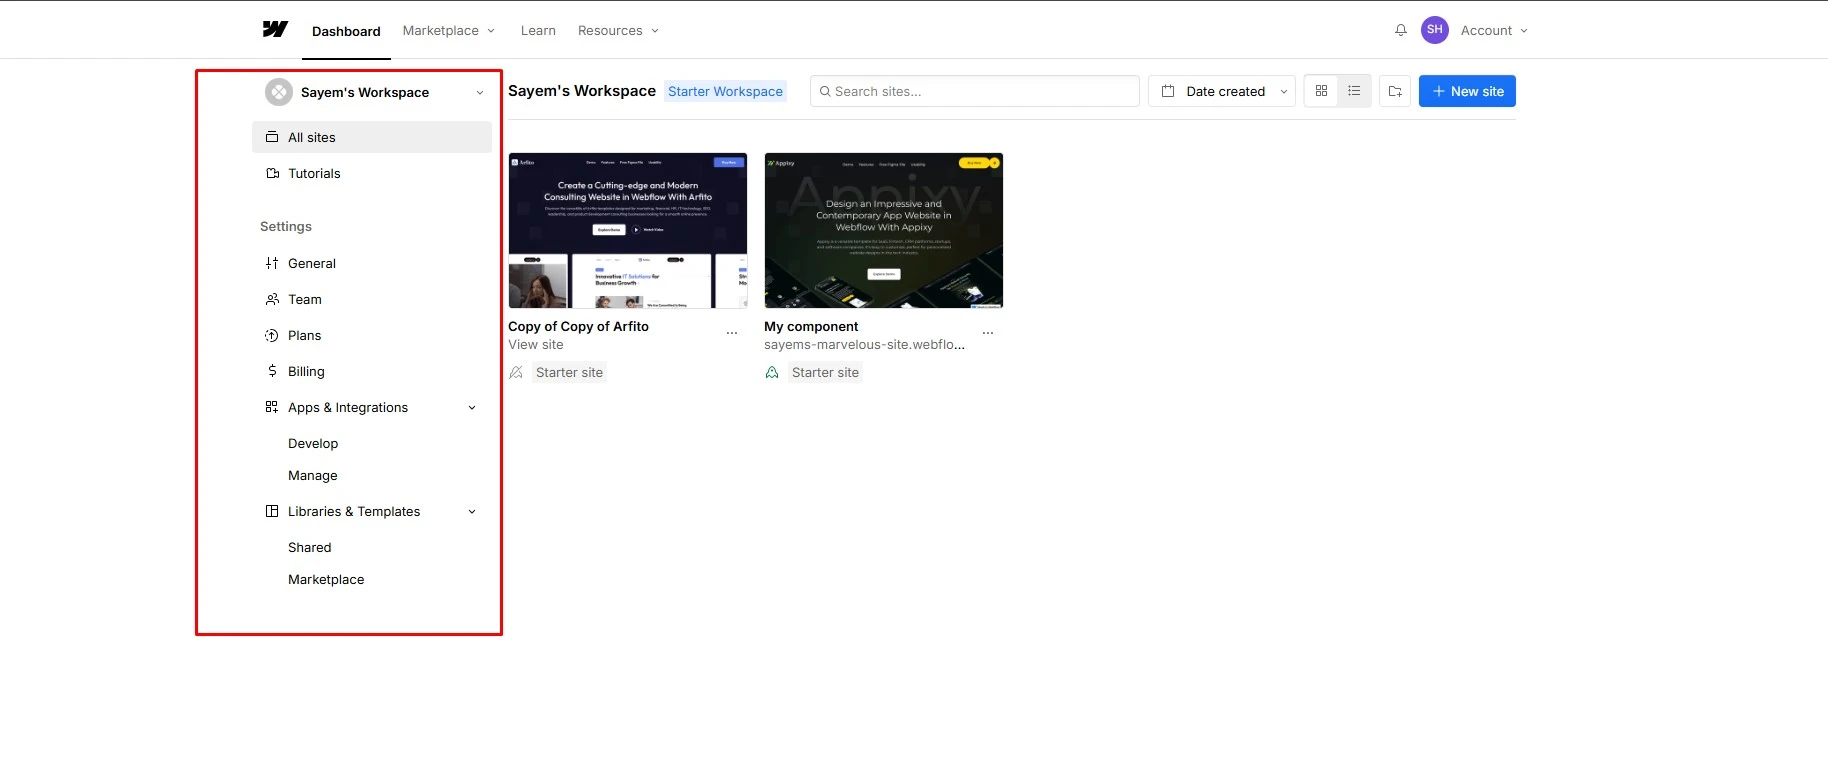
As soon as you log in to your Webflow account, you’ll notice a vertical sidebar on the left-hand side of your dashboard. This sidebar acts like your main navigation panel, giving you quick access to the essential tools and settings that help manage your overall Webflow workspace, beyond just individual website projects.
At the top of the sidebar, you’ll find the Dashboard option. Clicking this brings you back to your main screen, where all your projects are displayed. It’s your go-to spot for managing existing sites or creating new ones.
Below that is the Templates section, which offers a curated library of ready-made website designs. These templates are especially helpful if you're looking for a head start or inspiration for your next project.
Next, you’ll see Brand Assets. This is a useful feature if you want to manage your brand’s core design elements—such as fonts, colors, and logos—consistently across multiple websites. It saves time and ensures visual harmony when working on different projects for the same brand or client.
Further down, the Billing section lets you view and update your subscription plan, payment methods, and invoices. It’s a centralized place to handle all your financial details related to Webflow.
Right beneath that is the Settings tab, where you can tweak your personal preferences, account details, workspace settings, and even configure notifications or integrations depending on your needs.
If you’re collaborating with a team, the sidebar also allows you to invite teammates, assign roles, and manage user permissions. This makes it easier to work on websites collaboratively while keeping access secure and well-organized.
Overall, the sidebar is designed to keep everything within reach, whether you're working solo or managing multiple projects with a team. It's simple, intuitive, and saves you time by reducing unnecessary clicks.
How the Dashboard Helps with SEO
You might not expect it, but the Webflow dashboard can play a role in your SEO strategy too.
When you access a site’s Settings through the dashboard, you can:
- Add meta titles and descriptions (important for Google)
- Upload favicons and social sharing images
- Set up 301 redirects for moved pages
- Manage indexing preferences (what pages search engines should or shouldn't see)
Doing these things early on sets a strong foundation for ranking higher in search results.
Getting Started: Build Your First Website in Webflow
Now that you’ve learned the basics of the Webflow interface and design tools, it’s time to start building! Follow these simple steps to create your first website from scratch.
Managing Projects Efficiently
To start a new website, simply click on the "New Project" button. You’ll be prompted to choose between starting from scratch or using a pre-made template. Each project is autosaved, making your progress seamless and worry-free.
For better organization, group your projects using folders. This is especially helpful for freelancers or agencies handling multiple clients. You can also rename projects, duplicate them, or archive older sites to keep your dashboard clutter-free.
For increased productivity, Webflow offers useful keyboard shortcuts. For example, you can open multiple sites in the Designer simultaneously by using Command + click (on Mac) or Control + click (on Windows), which is perfect for comparing designs or copying elements between projects.
Utilizing the Designer and Editor
Clicking into a project launches the Webflow Designer, a powerful visual builder that combines the flexibility of code with a no-code interface. You can style every component, set up interactions, and adjust layouts responsively.
For content edits without touching the design, the Webflow Editor allows collaborators to update text, images, and links. It’s perfect for clients who want control over their content without the risk of breaking layouts.
Collaborating with Team Members
Webflow supports real-time collaboration, making it ideal for teams. Invite collaborators to your workspace, assign them roles (e.g., Designer, Editor), and manage permissions effortlessly.
You can also share preview links with clients or stakeholders, allowing them to review progress without needing a Webflow account. This smooth collaboration process boosts productivity and ensures everyone stays in sync.
Optimizing Site Settings
The dashboard lets you configure site-wide settings, including:
- SEO Tools: Customize meta titles, descriptions, and Open Graph settings for better discoverability.
- Hosting: Connect your custom domain and choose the right hosting plan.
- Backups: Revert to previous versions of your site at any time with automatic backups.
These features are vital for ensuring your Webflow site is not only beautiful but also optimized for search engines and user experience.
Monitoring Site Performance
Track your site’s performance directly through integrations. Connect Google Analytics or use Webflow’s built-in statistics to view traffic, bounce rate, and more. The usage dashboard also provides insights into hosting bandwidth and storage.
Having real-time analytics helps you make informed decisions and continuously improve your site’s performance.
Make It Mobile-Friendly
Webflow’s responsive tools help you design for every device. Set breakpoints to define how your layout adjusts on desktops, tablets, and phones. Tweak spacing, font size, and layout for each screen size to ensure it looks great everywhere.
Preview and Test
Click the Preview button to see how your site will look in a live browser. Test it across different devices and screen widths right inside the Webflow Designer. Make any necessary tweaks for a smooth, consistent experience.
Troubleshooting and Support
Stuck somewhere? Webflow’s Help Center is packed with guides, tutorials, and videos. You can also join the Webflow Forum, where designers and developers share tips, resolve issues, and discuss best practices.
Premium users can access email support or even Webflow Experts for advanced help. Whether you're debugging a design issue or integrating third-party tools, support is never far away.
Go Live
Happy with your design? Hit the Publish button in the top-right corner. You can publish to a Webflow subdomain or connect your custom domain. Your site is now live for the world to see!
Frequently Asked Questions
What is the Webflow dashboard?
The Webflow dashboard is the central hub where users can manage their projects, access site settings, and collaborate with team members.
How do I create a new project in Webflow?
Click the "New Site" button in the upper-right corner of the dashboard, then choose a blank canvas or a template to start your project.
How do I move a site from one folder to another?
To move a site between folders, click the "more options" dots under the site thumbnail, select "Move to folder," choose your destination folder (or create a new one), and click "Move site." This makes reorganizing your projects quick and easy as your collection of sites grows.
Can I collaborate with others in Webflow?
Yes, by utilizing Workspaces, you can invite team members to collaborate on projects within the same environment.
How do I organize my projects in Webflow?
Use folders to group related projects and sorting options to arrange them by date or name for better organization.
Is it possible to switch between different views in the dashboard?
Yes, Webflow allows you to toggle between grid and list views to suit your project management preferences. The list view displays more detailed information about each site, including creation date, last modified date, and publishing status at a glance. To switch between views, simply click the "List view" toggle in the top right corner of your Dashboard.
How can I quickly find a specific project?
Utilize the search bar at the top of the dashboard to locate projects by entering their names.
Final Thoughts: Why the Dashboard Matters
Mastering the Webflow dashboard might seem small, but it makes a huge difference as you grow your web design skills. Once you know where everything lives and how to use the tools, you’ll feel more confident building, managing, and launching websites.
Whether you're a complete beginner or looking to sharpen your workflow, this Webflow Dashboard Overview is your first step toward becoming a more organized, capable website creator.
Need More Help?
Webflow has a great help center and tons of free video tutorials on Webflow University. Don’t be afraid to explore, you’re learning a valuable skill!
SEO Keywords Used: Webflow Dashboard Overview, Webflow dashboard features, create a website in Webflow, manage Webflow projects, Webflow workspace.


